
9 Easy and Inspiring Painting Ideas for Beginners
The best painting ideas for beginners use simple shapes, few colors, and forgiving brushwork. A sunset, flower field, or night sky can look lovely without fine detail. You do not need natural talent or costly tools. You just need one clear idea and time to finish it.
Many new painters ask, “What if it looks bad?” That fear can stop a fun hobby before it starts. Yet a first painting is not a test but a safe place to learn how paint moves.
Why Simple Painting Ideas Work Best for Beginners
Simple subjects reduce the number of choices you must make. You can focus on color, shape, and brush control. That builds skill without making the task feel like homework.
Acrylic paint is often a smart first choice. It dries fast, cleans with soap and water, and covers old marks well. Watercolor is light and loose, but mistakes can be harder to hide. Oils need more drying time and special care.
Before you paint, gather a small set of basics. Skip the packed art aisle for now as more supplies can mean more doubt, not better art. Start with these:
- Student-grade acrylic paint in red, blue, yellow, white, and black
- A flat brush, one round brush, and one small detail brush
- A canvas board or thick mixed-media paper
- A water cup, paper towel, and simple palette
- An old shirt and a covered work surface
9 Easy Painting Ideas for Beginners
1. Soft Sunset Over Water
A sunset teaches color blending without strict lines. Paint yellow near the horizon, then add orange, pink, and blue. Blend each pair while the paint still feels damp. Work fast, since acrylic can set within a few minutes.
Then use long, flat strokes for the water below. Repeat the sky colors in darker shades. A thin white line can show the last light on the lake. Crooked reflections often look more real, so do not fuss.
2. Loose Wildflower Field
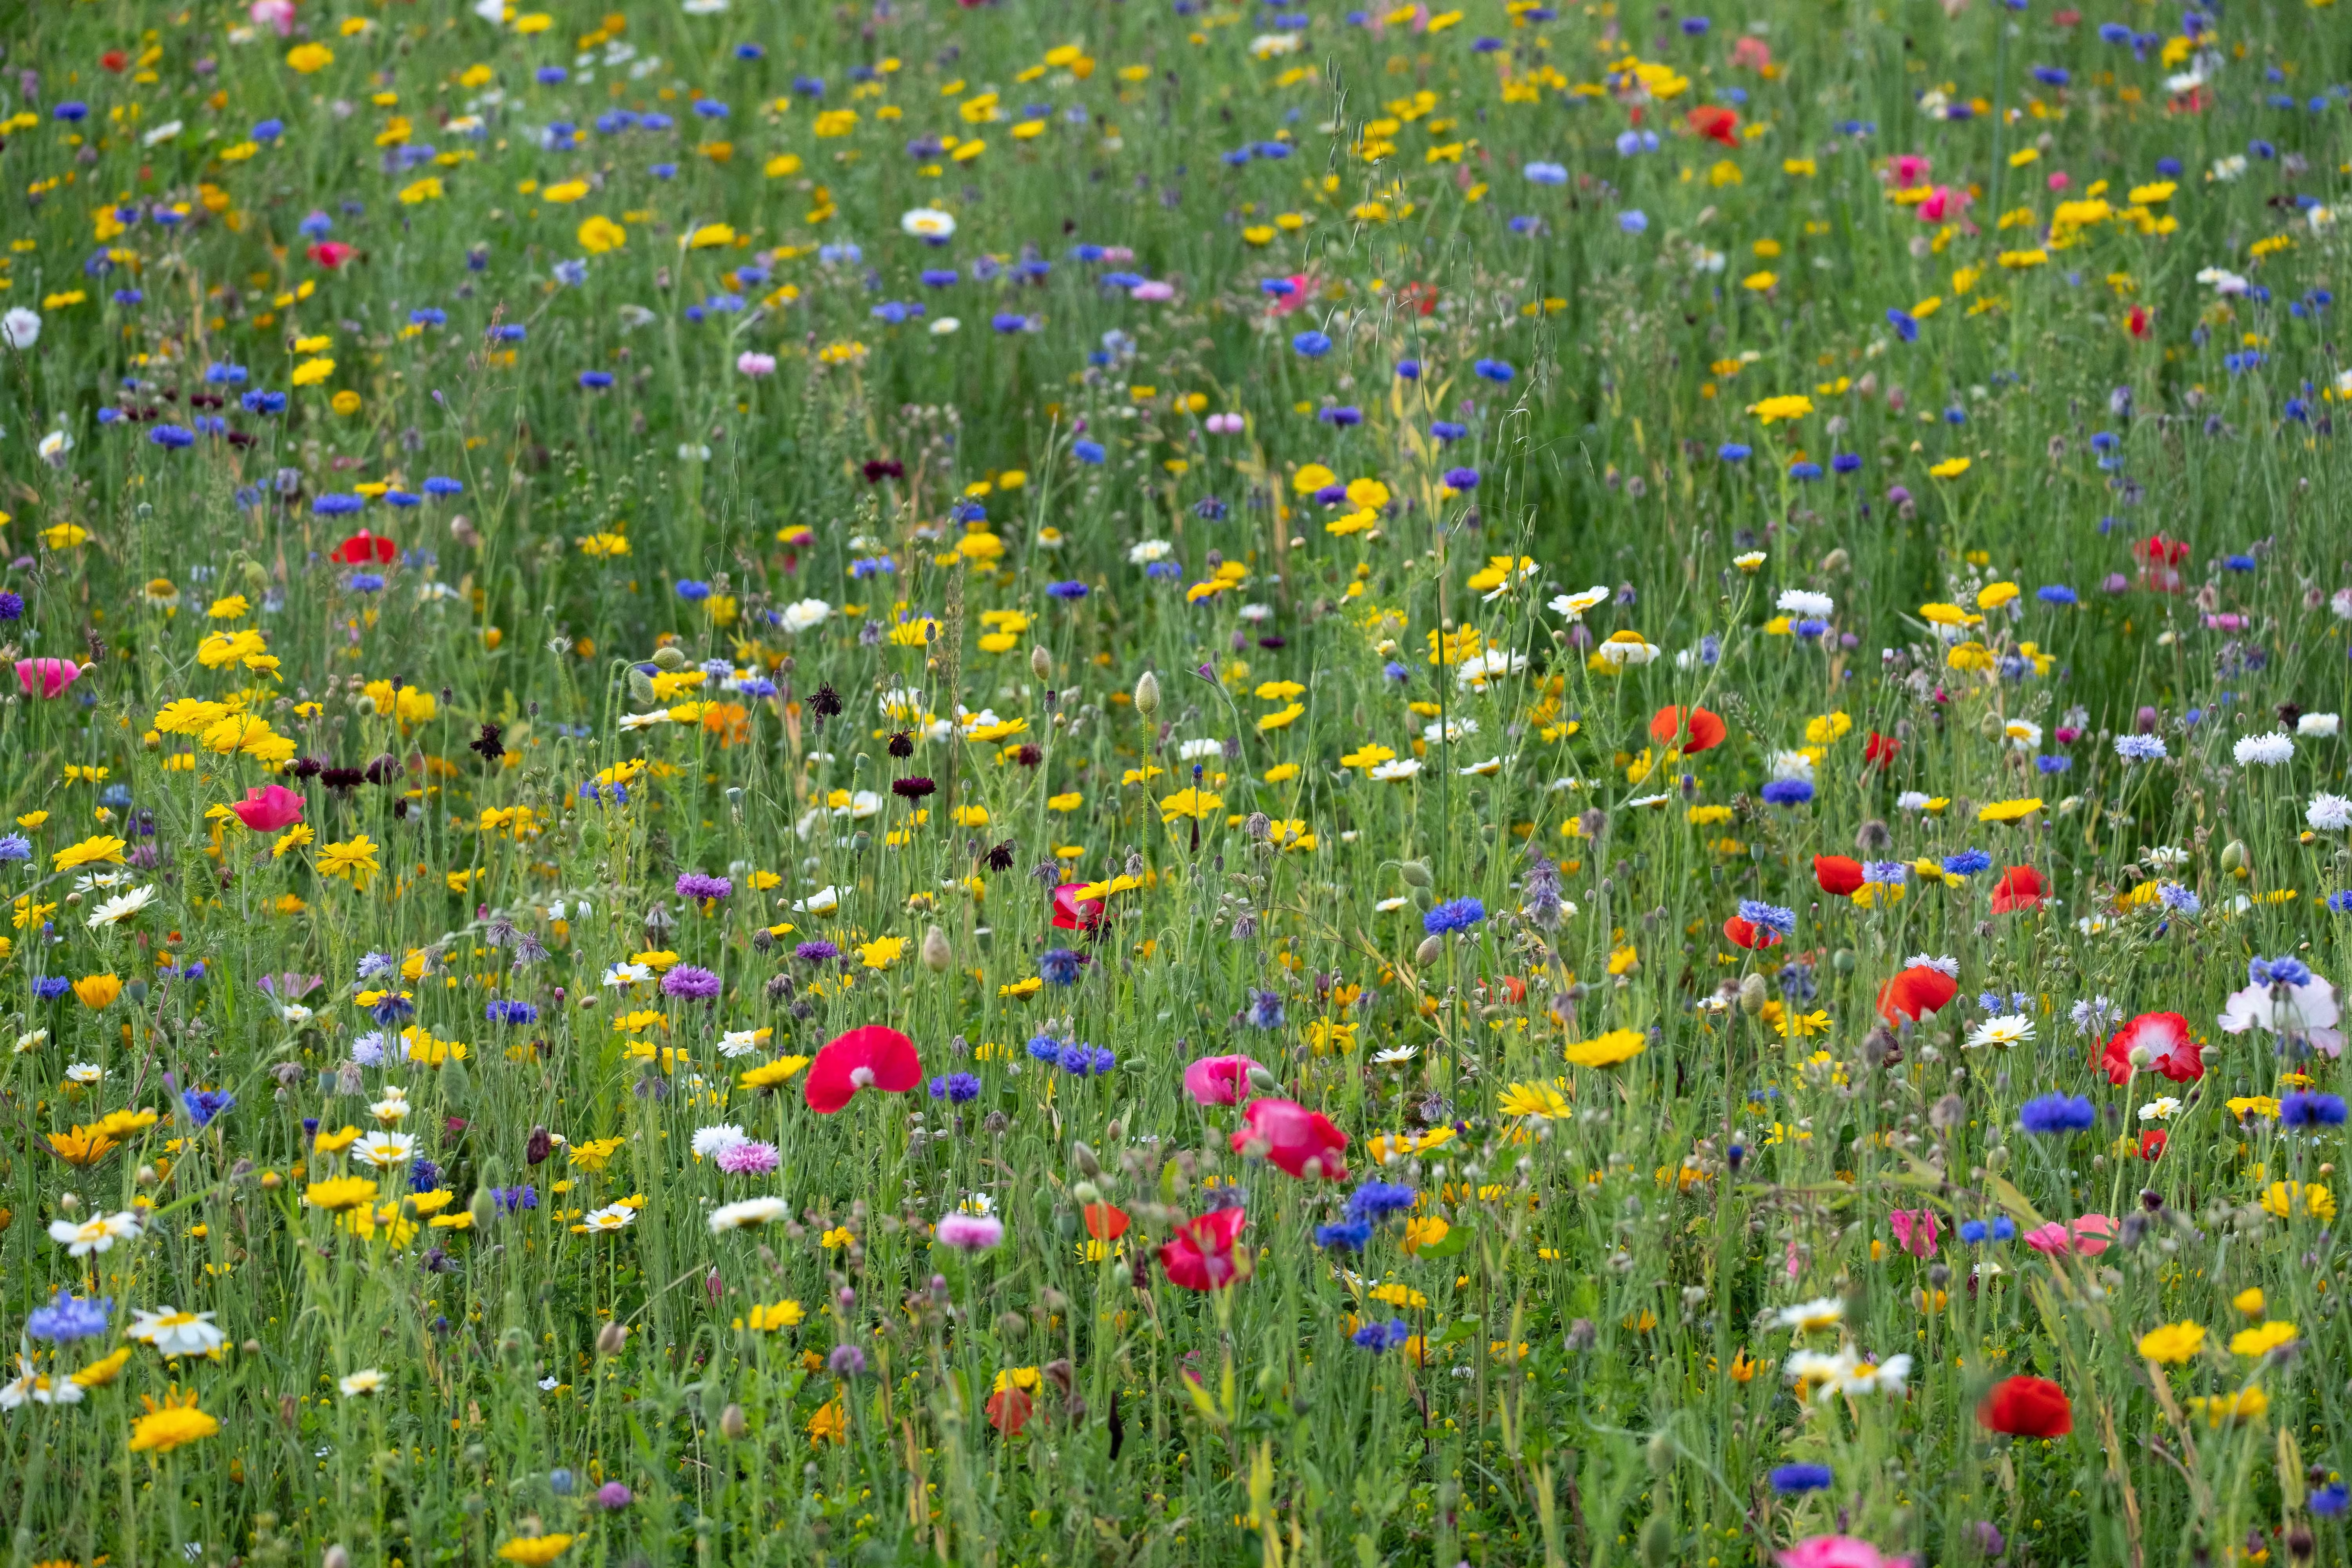
Wildflowers work because nature never spaces blooms in neat rows. First, paint a pale blue sky and green ground and let both areas dry. Then dab small dots of white, yellow, pink, and purple.
Use the end of a brush handle for round blooms. Add a few thin stems, but leave some flowers floating. Not every petal needs to look perfect and the same. Viewed from across a room, the color does the work.
3. Simple Leaf or Plant Study
One leaf can teach more than a crowded garden scene. Pick a bold shape, such as a monstera or fern. Draw its main form very lightly with pencil and then fill it with two or three shades of green.
Paint the darkest shade near the stem and folds and add a pale edge where light might hit. Keep the background plain, perhaps cream or soft peach. The clean space helps the leaf stand out.
4. Three-Piece Fruit Bowl
A fruit bowl is one of the safest painting ideas for beginners. Apples, lemons, and oranges begin as circles or ovals. Place no more than three pieces in your first scene. Too many objects make the light harder to track.
Set a lamp on one side of the bowl and keep every highlight on that same side. Add one dark shadow beneath each fruit that’ll give flat shapes real weight.
5. Silhouette City or Mountain Skyline
Silhouettes look advanced but in reality, they are a smart shortcut. You paint one dark shape over a bright sky. There is no need for windows, stone, bark, or fine lines.
Try a Houston-inspired dusk with a low city skyline or use a row of pine trees and Texas Hill Country slopes. Paint the background first and let it dry fully. Then add the skyline in black or deep navy.
6. Cotton-Swab Cherry Blossom Tree
This may be the easiest idea to make a professional looking painting. Paint a dark trunk with a few thin branches and then dip a cotton swab into light pink paint. Remember to dab it near the branches instead of dragging it.
Add a second pink and a few white dots and cluster the marks, but leave gaps for air. A dragged swab creates a smear, while a quick dab reads as bloom. That is the whole trick.
7. Abstract Pour Painting
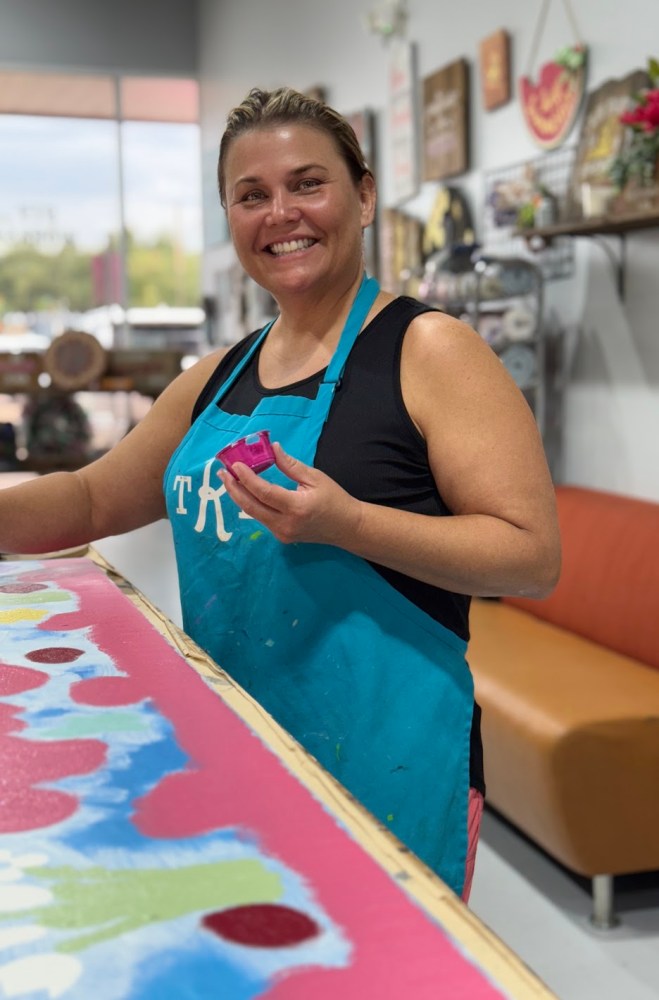
Pour painting looks wild, but setup gives you control. Cover the table and place the canvas on four cups. Set everything inside a shallow box lid as this catches paint that runs past the edges.
A rough starting mix is two parts pouring medium to one part paint. Still, follow the directions on your chosen medium. Pour two or three colors, then tilt the canvas slowly.
Do you want less mess and more support? An instructor-led workshop can remove much of the guesswork. The Rustic Brush’s Texas studios provide materials and step-by-step help, with no prior experience needed. That can suit anyone who wants a social first try.
8. Simplified Pet Portrait
Skip each strand of fur on your first pet portrait. Start with a sharp, well-lit photo and block the head into one large shape. Next, add three value zones: shadow, midtone, and light.
Focus on the eye color, ear shape, and nose. Those clues help a pet look familiar. But will it match the photo at once? Maybe not, and that is fine. Aim for charm and likeness, not a photo copy.
9. Moon and Splatter-Star Night Sky

One heavy paint splatter makes blobs, not stars. Begin with a dry sky in navy, purple, and black. Thin white paint with a few drops of water. Load an old toothbrush, then flick the bristles with your thumb.
Make three light passes from several inches away. Change the angle each time for a random spread and add a pale moon with a round brush or stencil. A soft gray patch gives it a bit of depth.
How to Choose Among Painting Ideas for Beginners
Choose by the skill you want to test. A sunset suits color blending while a skyline suits bold shapes, while blossoms suit simple dabs. Your time and patience matter more than the subject.
If you want calm solo practice, a take-home project may fit. The Rustic Brush lists DIY kits alongside workshops and private events. A kit can cut down supply choices while keeping the work hands-on. Check the nearest studio for current project options and booking details.
Tips for Trying Painting Ideas for Beginners
Most beginner paintings go wrong in a few common ways. Thick paint can crack or hide the sketch. Wet colors can mix into mud on the canvas. Fine detail also fails when the background is still damp.
Use these quick checks before each new layer:
- Start with the largest background shapes.
- Mix colors on the palette, not the canvas.
- Let wet layers dry before adding fine marks.
- Step back every few minutes and view the whole piece.
- Stop when the main idea reads clearly.
Keep the First Canvas Simple
The most useful painting ideas for beginners are the ones you finish. Pick one skill, use a limited palette, and accept a few rough marks. Those marks record what your hand learned that day. Your next blank canvas may feel far less blank.
FAQ
Q1: What is the easiest thing for a beginner to paint?
A sunset is often the easiest first subject. It uses broad bands of color and needs little detail. A simple silhouette can hide rough horizon lines.
Q2: Do beginners need expensive painting supplies?
No, basic student-grade supplies are enough. Buy a few colors and three useful brushes. Better control matters more than a large set.
Q3: Is acrylic or watercolor better for beginners?
Acrylic is often easier for a first project. It dries fast and lets you cover mistakes. Watercolor suits people who enjoy soft, loose marks.
Q4: How long should a beginner’s first painting take?
Plan for one to two hours. A small canvas can be done sooner. Stop if tired hands make every choice feel harder.
Q5: Can someone paint well without knowing how to draw?
Yes. Abstract art, pours, sunsets, and silhouettes need little drawing. Stencils and simple traced shapes can also help. Brush skill grows through use.