How to Stencil on Wood Without Bleeding: 9 Expert Tips

We’ve all been there where we’re trying to stencil on wood, and the paint just bleeds out. Wood has grain and tiny pores, and paint loves to sneak into them. But there is a way to do it without letting the paint bleed.
Stenciling on wood without paint bleeding is not tough. You just need to control three things, which are a sealed surface, very little paint, and light tapping with the right brush. When these three work together, the paint stays inside the stencil lines, and your design comes out crisp.
But once you understand why bleeding happens, the fix becomes easy. By the end of this guide, you’ll know exactly how to stencil on wood and get sharp, clean results every time.
Why Paint Bleeds When You Stencil on Wood
Before we jump into techniques, let’s first see where the real problem arises.
Wood is not a smooth surface. Even sanded wood still has tiny grooves. When you apply paint over a stencil, the paint tries to flow into those grooves. If too much paint sits on the brush, it slides under the stencil edges.
That’s what causes the blurry halo effect around letters or shapes.
Three main things usually cause stencil bleeding:
- Too much paint on the brush
- A stencil that is not sealed or secured well
- Raw wood that absorbs paint
Once you fix those three issues, clean lines become much easier.
Materials You Need Before You Start
You don’t need a huge craft kit. But the right tools make a big difference.
A basic stencil setup includes a few key items. Many DIY sign makers prefer reusable stencil kits and wood sign supplies from The Rustic Brush, because they are designed specifically for wooden surfaces and lettering projects.
Here’s what most projects require:
- Wooden board (pine, plywood, or reclaimed wood)
- Sandpaper (120-220 grit)
- Stencil (adhesive or reusable)
- Stencil brush or foam pouncer
- Acrylic or chalk paint
- Painter’s tape
- Paper towel or scrap paper for offloading paint
Once these are ready, the process becomes simple and even relaxing.
Tip #1: Always Sand the Wood First
This step sounds boring, but it is the secret to clean stencil work.
Wood fibers stick up slightly after cutting or handling. If you stencil on that rough surface, paint slips under the stencil edges. Light sanding smooths the surface so the stencil sits flat.
A quick sanding routine looks like this:
- Use 120-150 grit sandpaper to smooth rough areas.
- Follow with 220 grit for a fine finish.
- Wipe dust off with a dry cloth.
It only takes five minutes, but it saves a lot of frustration later.
Tip #2: Seal the Wood Surface
If you want to master how to stencil on wood, sealing the surface is one of the smartest tricks.
Raw wood acts like a sponge where paint sinks into it instantly. When that happens, bleeding becomes almost impossible to control. But a thin seal coat stops that.
Common seal options include:
- Clear matte sealer
- Polycrylic
- A thin base coat of paint
Apply one light coat and let it dry fully. Now the wood surface behaves more like a canvas instead of a sponge.
Tip #3: Secure the Stencil Properly
A stencil that moves even a tiny bit will ruin your lines.
Always press the stencil firmly against the wood. Many people use painter’s tape on all sides to hold it down. Adhesive stencils work even better because they stick directly to the surface.
To secure a stencil correctly:
- Align the stencil carefully before pressing down
- Tape or stick all corners
- Smooth the stencil from the center outward
This step removes tiny air gaps where paint could slip underneath.
Tip #4: Use a Dry Brush Technique
This is the biggest secret behind clean stencil lines. Never load your brush with wet paint.
Instead:
- Dip the stencil brush lightly into paint.
- Dab most of the paint off onto a paper towel.
- Keep dabbing until the brush looks almost dry.
Then apply the paint using gentle tapping motions, not strokes. Light paint layers stay exactly where you place them.
Tip #5: Tap, Don’t Brush
Brushing paint sideways pushes paint under stencil edges. Instead, tap the brush vertically.
The motion should be:
- Small
- Quick dots
When painting, imagine you are lightly bouncing the brush on the stencil. That motion pushes paint down into the design without spreading sideways.
This technique alone solves most bleeding problems.
Tip #6: Build Color Slowly
One thick coat is the fastest way to ruin a stencil. The better approach is several very light coats.
The process usually looks like this:
- First layer: very light tapping
- Second layer: slightly more coverage
- Third layer: full color depth
Each layer dries quickly because it’s thin. And thin paint layers stay inside stencil edges.
Tip #7: Remove the Stencil at the Right Time
Timing matters more than people think. If you pull the stencil too early, wet paint may smear. If you wait too long, dried paint may peel. The sweet spot is when the paint is dry to the touch but not fully cured.
To remove the stencil safely:
- Peel the stencil slowly at an angle
- Do not lift it straight up, as it can pull paint upward
Instead, gently peel it back like removing a sticker.
Tip #8: Fix Small Bleeds Easily
Even experienced crafters get tiny paint bleeds sometimes. The good news is that they are easy to fix. A small artist’s brush works wonders.
Here are simple correction tricks:
- Touch up edges with the background paint color
- Use a fine detail brush for letters
- Lightly sand and repaint if needed
Most small mistakes disappear in seconds. In fact, some rustic wood signs actually look better with tiny imperfections.
Tip #9: Choose the Right Paint for Wood
Not all paints behave the same on wood surfaces. Thicker paints tend to bleed less.
Good stencil paints include:
- Chalk paint
- Acrylic craft paint
- Furniture paint
Very thin paints can run under stencil edges more easily. Using the right paint alone can improve stencil results dramatically.
How to Write on Wood Without Bleeding
If your real goal is how to write on wood without bleeding, the same stencil rules apply. The trick is controlling paint flow.
A good lettering process usually looks like this:
- Prepare and seal the wood surface.
- Place the lettering stencil.
- Use a dry stencil brush.
- Apply paint with gentle tapping.
- Build color in thin layers.
This approach keeps letters crisp and readable.
And if you’re making wood signs for home decor, those clean edges make a huge difference in how professional the piece looks.

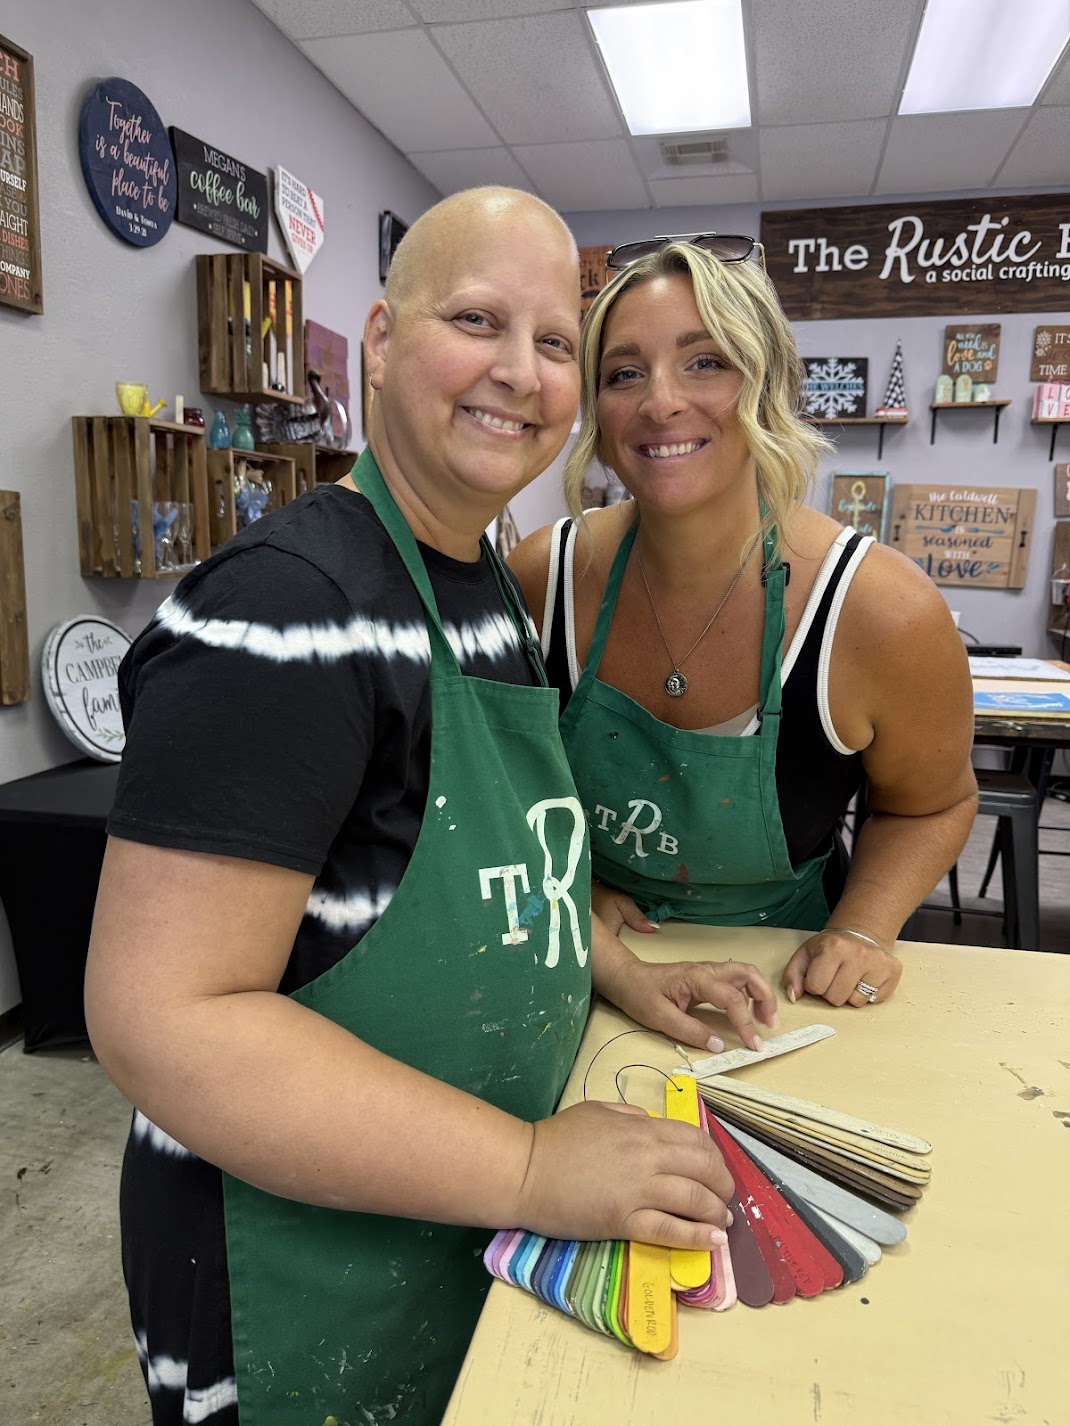
If you’re unsure how to do it without any guidance, you can book a wood sign workshop at The Rustic Brush. They have all the supplies ready for you, so you don’t have to get your own stuff. Their experienced members are also present all the time to guide you through the entire workshop, so you leave the workshop happy with a perfectly painted wood sign.
Thinking Like a DIY Sign Maker
When people first try wood stenciling, they often wonder if they need to seal the wood, if a stencil brush is really important, and if a normal paintbrush can be used.
A stencil brush holds less paint and spreads it evenly. A sealed surface prevents paint from sinking into grain lines. Small upgrades in tools and prep usually lead to big improvements in results.
That’s why workshops and craft studios focus so heavily on preparation before paint even touches the wood.
Quick Recap: The Core Rules of Clean Stenciling
If you remember nothing else, remember these basics.
Clean stencil lines come from three things:
- Smooth wood surface
- Proper stencil adhesion
- Very light paint layers
Most stencil bleeding problems come from skipping one of those. Once you control those factors, even beginners can produce sharp wooden signs.
Final Thoughts
Wood stenciling sits in that sweet spot between art and craft. It’s simple enough for beginners but satisfying enough that people keep doing it for years.
The first time you peel a stencil off a wooden board and see crisp letters staring back at you, it feels oddly rewarding. Almost like pulling a perfect cake out of the oven.
So the entire process is less about how to stencil on wood without bleeding and more about what you’ll create next. A farmhouse kitchen sign? A welcome board for the porch? Or maybe the start of a small weekend side project.