How to Make Wooden Signs: 9 Easy DIY Steps (Beginner Guide)

Does making wooden signs sound too complicated? It is not! Making wooden signs is simple. You just have to choose a wooden board, paint a base color, add a stencil design, and seal it. That is the core process. Anyone can learn how to make wooden signs with a few tools and some patience.
Wood signs feel warm and personal. You see them in cafes, entryways, and kitchens. They often hold short messages like “Welcome” or “Gather.” Many people try this craft because it feels relaxing and creative.
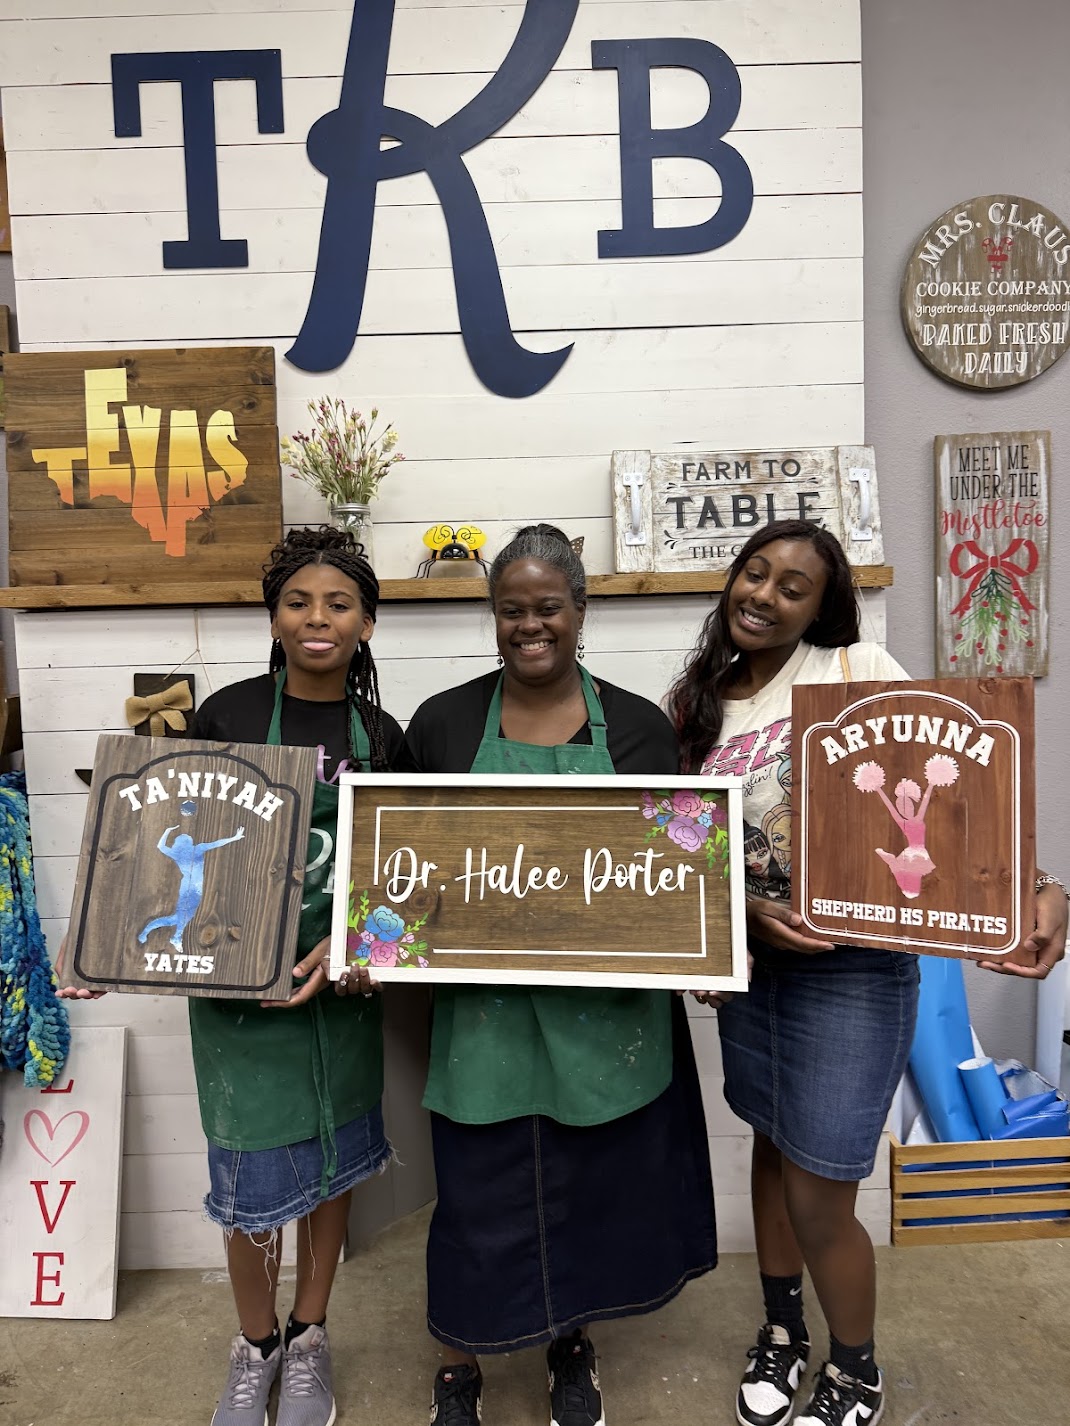
The best part is this. You do not need a workshop full of tools. A small table, basic supplies, and an idea are enough. Many beginners even start with DIY craft kits. For example, projects from The Rustic Brush include pre-cut wood, stencils, and paint. This removes the hard setup work. You simply start creating.
Now, let’s look at how these wood signs are created.
Why People Love DIY Wood Signs
But why do people love these wood signs? The reason is simple. Wood signs have a timeless look. They work in rustic homes, modern homes, and farmhouse kitchens.
They also feel meaningful. A sign can show your family name. It can share a quote, or it can greet guests at the door.
Another reason people try DIY wood signs is cost. Store signs can be expensive, but handmade signs cost much less, and they feel more special.
Many beginners also enjoy the calm rhythm of the craft. You get to play with sand, paint, and in the end, let it dry and repeat.
Soon, the blank board becomes art.
Tools and Materials You Will Need
Before learning how to make wooden signs, gather your supplies. This makes the project smooth and stress-free.
Most beginner signs use simple materials.
Basic supplies include:
- A wooden board or craft plank
- Sandpaper (medium and fine grit)
- Acrylic or chalk paint
- Foam brush or paintbrush
- Stencil or vinyl letters
- Painter’s tape
- Wood stain (optional)
- Clear protective sealer

Some people prefer ready-made kits. These kits include matching paints and stencil designs. If you don’t want to go through the hassle of arranging the materials by yourself, The Rustic Brush is popular because they remove the guesswork. You can focus on the fun part, as they offer you all the supplies needed to create the wooden sign. Once your supplies are ready, the project can begin.
Step 1: Choose the Right Wood Board
The first step in how to make wooden signs is selecting the wood. Soft woods work best for beginners. They are easy to sand and paint.
Good options include:
- Pine
- Poplar
- Birch plywood
- Pre-cut craft boards
Pine is very common, as it has a nice grain pattern. That grain shows through the stain and gives the sign character.
Always start with a small board. A beginner sign around 10×12 inches works well. Smaller boards are easier to handle.
Step 2: Sand the Wood Surface
Sanding is important, but many beginners skip it, and then they regret it.
Raw wood often feels rough. Small splinters or uneven grain can appear. It’s always best to use medium-grit sandpaper first. Then switch to fine grit.
Focus on these areas:
- Corners of the board
- Rough grain spots
- Any knots in the wood
After sanding, wipe the board clean. A dry cloth works well. Dust can ruin smooth paint. This small step makes a big difference later.
Step 3: Apply a Base Stain or Paint
Now the project starts to look exciting.
You need a base color before adding the design. The base sets the style of the sign. Some people love natural wood. They apply wood stains to show the grain. Others prefer painted backgrounds.
Here are two popular styles:
Rustic stained wood
- Shows natural wood grain
- Looks warm and farmhouse-inspired
- Works well with white lettering
Painted background
- Creates a strong color contrast
- Looks clean and modern
- Works with many lettering colors
Use thin paint layers, as thick coats may drip. Let the base dry fully. Remember, rushing here can ruin the design later.
Step 4: Pick Your Sign Design
Now comes the creative part. Think about the message you want. A wooden sign often carries a short phrase.
Just ask yourself, “What do I want this sign to say?” Popular beginner phrases include:
- Welcome Home
- Gather
- Eat Well
- Family Name Signs
- Farmhouse Kitchen Quotes
Many beginners use stencils, as they help keep letters straight and clean. Freehand lettering can be tricky, and stencils can remove that stress.
This is why DIY sign workshops and kits often include stencil designs.
Step 5: Position and Secure the Stencil
This step controls how neat the sign looks. If you’re not sure how to paint using a stencil, follow these steps:
- Place the stencil on the board.
- Move it until the design feels centered.
- Then secure it with painter’s tape.
- Press the stencil edges firmly.
Following these steps helps in preventing paint from leaking underneath. Paint bleeding is the most common beginner mistake.
Take a few extra seconds here because it saves time fixing errors later.
Step 6: Paint the Lettering
Now the real magic happens when it’s time for you to paint the lettering. You cannot paint on wooden signs the same way you paint on paper.
To make sure you’re doing it right:
- Dip your brush into paint.
- Then wipe most of the paint off.
- The brush should feel almost dry.
Too much paint causes blurry letters.
How you paint or the technique you’re using also matters.
- Instead of brushing strokes, use gentle tapping motions.
- Tap the paint inside the stencil shapes and don’t rush.
- Once done, lift the stencil carefully.
- Do this while the paint is still slightly wet.
You will soon see that your wooden board shows a real design. And honestly, it feels rewarding.
Step 7: Add Light Distressing
Distressing gives the sign a vintage look. Many farmhouse-style signs use this effect. While you do not have to do it. But it adds character.
To add this:
- Use fine sandpaper.
- Rub lightly on the edges or parts of the lettering.
- This reveals hints of wood under the paint.
- The goal is subtle wear.
- Not heavy scratches.
This type of wood sign will remind you of an old sign hanging in a country barn. That is the look you want.
Step 8: Seal the Wooden Sign
Sealing protects your work.
Indoor signs can last without it, but sealing still helps. Outdoor signs always need protection.
Common sealers include:
- Matte polyurethane
- Clear acrylic spray
- Furniture wax
Apply thin coats and let each coat dry. This step protects the paint and prevents fading. It also makes the sign easier to clean.
Step 9: Add Hanging Hardware
The final step in how to make wooden signs is deciding how to display them. Some signs lean against shelves, while others hang on walls.
Common hanging options include:
- Sawtooth wall hangers
- D-ring hooks with wire
- Twine for rustic style
- Keyhole hangers
Attach the hardware to the back of the board with small screws. Now your sign is ready.
Hang it in your home or gift it to someone special.
Beginner Mistakes to Avoid
Most mistakes happen because people rush the process. Take your time, and these problems disappear.
Common beginner mistakes include:
- Using too much paint in the stencil
- Skipping the sanding step
- Not letting the paint dry fully
- Crooked stencil placement
- Forgetting to seal outdoor signs
Slow work leads to better results.
Make Handmade Wood Signs Special
Handmade signs feel thoughtful. They show effort and creativity. Store-bought decor rarely feels that personal, but wood signs work well for many occasions.
A personalized sign can become a memory. Something that stays on the wall for years. And once you finish your first sign, something interesting happens.
You start looking around your house, and empty walls suddenly look like new projects waiting to happen.